How to paint a fence
Looking to refresh your garden? A fresh layer of paint on your fence panels can do wonders.
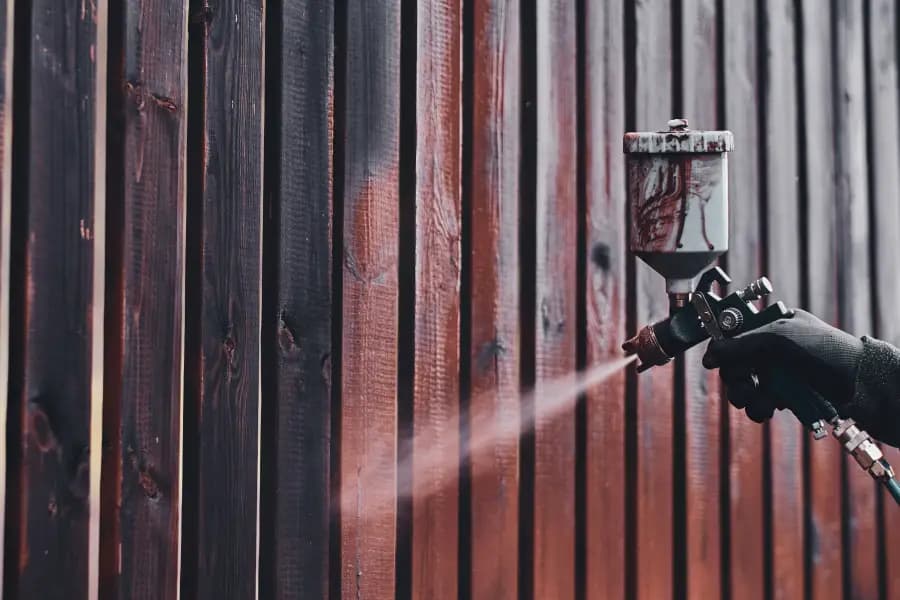
Table of Contents
Refreshing and painting your garden fence can have benefits for gardens and outdoor spaces; a fresh coat of paint will immediately update and improve the style and appearance of the area. Using the right type of paint will protect wooden fences over time so that you can ensure they remain in good condition, staving off rot and mould. Outdoor paint can also defend your fence from all the external elements. It can prevent rain, sunlight, heat, and cold from ageing your borders early. Over the years, you can prevent warping, splits, cracks, and decomposition. Therefore, you can save plenty of money on replacing panels.
When is the best time to paint your garden fence
The summer is the ideal time to paint in your garden. The weather is ideal, because it is dry and warm. If you paint a fence when it's too cold - under 5°C - the paint will take much longer to dry. It is also more likely to rain in the spring, autumn and winter, which is a major no-no. Another advantage to working in the summer is the long daylight hours. You'll have plenty of time to get a lot of work done.
If there has been some recent rain, you'll need to wait for your fences to dry out before you paint them. It's also best if the wood isn't too hot. If the surfaces are hot, the paint will dry too fast. If the paint dries too fast, it doesn't penetrate the material. This compromises the finish and the protective qualities. We recommend working in the shade or starting early in the morning as the best practice.
How to choose the best fence paint
Different paints and stains give different finishes and offer various levels of protection. It is important to choose your paint to suit the desired look and requirements of your fences.
Once you have chosen your paint, you need to make sure that it is at the correct consistency for use. If the paint is too thick, it may spoil the finish. If the paint is too thin, it could lead to running and an uneven coat. It is also important to ensure the paint is well stirred. Stirring paint ensures that the pigments and binding ingredients are well mixed.
What tools do I need to paint a fence?
You can paint by hand using standard brushes but that's best for smaller areas. It would take a while to paint a series of fences. If you want the job done quicker, you can hire a paint sprayer. You can cover large areas in no time using a sprayer. If needed, you can still use brushes for cutting in and awkward nooks and crannies.
If you're using large quantities of paint, you can use a paddle mixer to stir it. If you have small tins of paint, use a standard paint stirrer. If you can't get hold of a paint stirrer, use something with a large surface area, like an offcut of conduit lid or an old wooden spoon.
If you need extra reach, folding work platforms can provide safe access. You might not need a platform for your garden fences, but they will be useful if you move on to other things. You could end up painting sheds, pergolas, arbours, and other garden furniture or structures.
Prepare fences for painting
First, remove nails and screws that are sticking out of the fence panels. Also, move any hanging baskets, decorations, or features out of the way.
Remove any rough edges or previous finishes from the fences. Covering these up without removal will result in an uneven finish. So, make sure you give the fences a thorough sanding.
It’s also important to prepare the area around the fences to prevent spillages and splashes. Move furniture out of the way and lay dust sheets to protect the ground.
You should take safety precautions before undertaking any kind of DIY. We always recommend you observe all the safety advice on any products or materials you use.
How to paint a garden fence: step-by-step
- Apply a primer to the surfaces and allow them to dry fully.
- If you're using a brush - Use a sweeping back and forth motion and follow the layout of the panes. If the panes are horizontal, paint side to side with horizontal strokes. If the panes are vertical, paint up and down in vertical strokes. Apply the paint in a liberal way, with enough fluid to soak into the timber. If you're working vertically, start from the top and work down. This way, you can catch any drips and brush them out before they set. Check all sides of the panels to make sure there are no drips.
If you're using a sprayer - Check you've covered the whole surface area. Use a brush to fill in little gaps, like the spaces between panels, corners, and posts. - If you need to apply more coats, wait for each coat to dry before adding the next. Allow each coat time to dry before going back over them for the best finish possible.
- When you've finished, clean your equipment. Use water or white spirit to clean your brushes. Follow the manufacturer's instructions for cleaning paint sprayers.
- Remove any coverings. Replace any furniture. If you have paint remaining, store it away properly. You can now enjoy your freshly painted fence!
Hire garden tools and equipment
If, alongside painting your fence, you also want to spruce up the rest of your garden, hiring garden equipment can not only help make the job easier but give you a more professional finish; even when doing it yourself. We work with garden equipment hire specialists across the UK to provide you with high-quality garden equipment hire, so you can be sure you're hiring the highest quality equipment for the job.
Related Articles
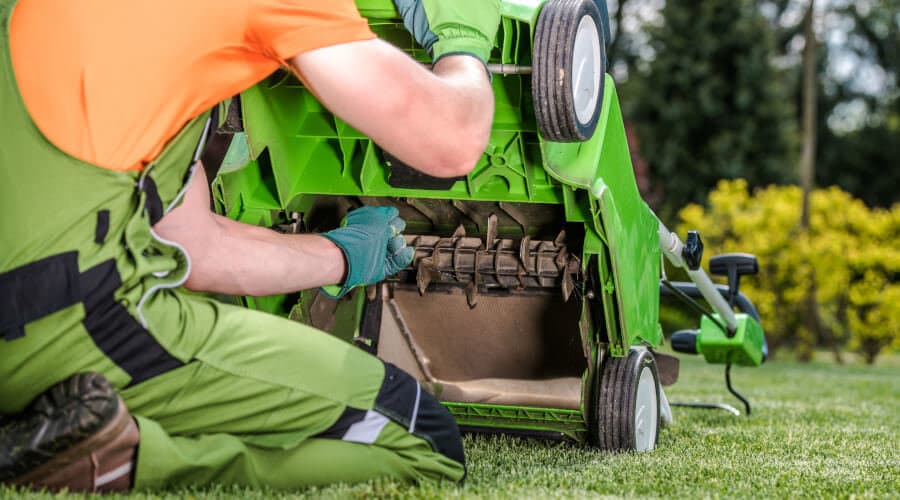
How to use a scarifier
Read our blog to find out how to use a scarifier to remove moss and thatch, improve thick grass growth and improve the overall look and health of your lawn.

How to drain a pond
Removing water from your garden pond needn't be a long and laborious process. You can use a submersible pump to remove the water from your garden pond in no time!

How to use a brush cutter
Read our blog to learn how to use a brush cutter or strimmer & find out the difference between these two versatile garden tools.